About Me

- 6060
- I am a mom of two. I love amigurumi and colorful yarns. I will try to help you as much as I can if you have questions about plastic safety eyes and noses. Have fun knitting and crocheting!! The HEART behind the Eyes - Clara
Handpainted Eyes

Hand Painted Eyes by clara
Subscribe 6060


 Posts
All Comments
Posts
All Comments
Showing posts with label animals. Show all posts
Showing posts with label animals. Show all posts
Friday, March 20, 2009
SALE - 9mm Black Safety Eyes 25 Pairs for $7 - limited time only
 11:07 AM | Posted by
6060
11:07 AM | Posted by
6060
For this weekend, 9mm black amigurumi safety plastic eyes are on sale, only $7 for 25 pairs.
If you are using 9mm eyes a lot, this is your chance to stock up! If you would like to purchase some, please go to my etsy store. Thanks!


 Labels:
6060.etsy.com,
9mm,
Amigurumi,
animals,
black,
Cat,
dog,
doll,
doll making,
doll parts,
fish,
plastic eyes,
safety eyes,
stuffed animals,
stuffed toys
|
Labels:
6060.etsy.com,
9mm,
Amigurumi,
animals,
black,
Cat,
dog,
doll,
doll making,
doll parts,
fish,
plastic eyes,
safety eyes,
stuffed animals,
stuffed toys
|
 1 comments
Wednesday, January 28, 2009
Amigurumi Panda
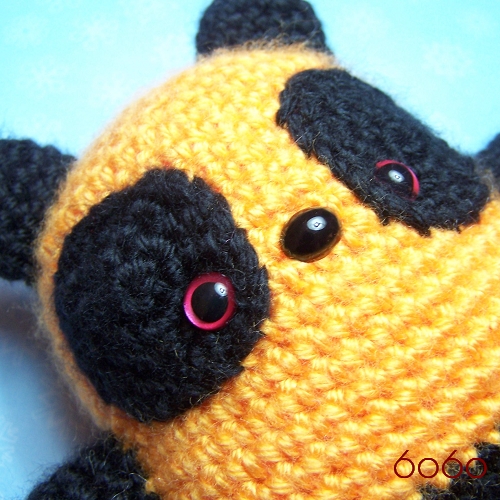
A few days ago I saw a pattern from Lion Brand website. I was really interested in it. My daughter Katie did too, so picked up my crochet hook again to crochet another amigurumi! I can't help it, it's too much fun! I have tons of Caron Simply Soft Brites yarns, I picked up black and mango (like orange) and started my new project. It didn't take long for me to crochet all the parts but it took me forever to sew them up. This is the worst part of amis. I just don't like sewing much! :P
Details:
Crochet hook: F/4mm
Yarn: Caron Simply Soft Brites
Eyes: 9mm hand-painted eyes (hot pink color)
Nose: 10mm oval eye
Pattern: Click here please

Labels:
9mm eyes,
Amigurumi,
animals,
caron simply soft brites,
Crochet,
DIY,
fun,
hand painted,
hand-painted pink eyes,
panda,
plush,
soft toys,
stuffed animals
|
4
comments
Thursday, January 1, 2009
Cuddlet ... because everyone likes cuddles
Are these little critters cute? I think Etsian artists really rock! Etsy is full of talented people indeed. Now these bunch of critters are all handmade by Nina! Isn't she great? These are all original designs by her. She sell these in her etsy store. These animals are so cuddly, I think that's why her etsy store named cuddlet.etsy.com.
She is not only selling animals, she has these PDF tutorials about making these lovely soft toys too!! I like her creatures. They are very colorful. You will smile and happy when you are cuddling these animals I am sure! :) More information you can go to her website directly: Cuddlet.com.


 Labels:
animal eyes,
animals,
craft eyes,
critters,
cuddlet,
cuddlet.com,
handmade,
handmade with love,
plastic eyes,
soft toys
|
4
comments
Labels:
animal eyes,
animals,
craft eyes,
critters,
cuddlet,
cuddlet.com,
handmade,
handmade with love,
plastic eyes,
soft toys
|
4
comments
Saturday, July 5, 2008
Hulk the frog
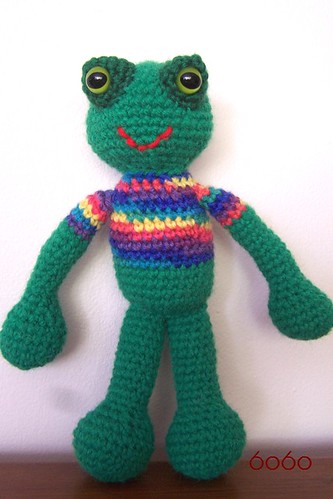
I spent a few days to crochet this frog. It's not as easy as I thought! I mean it's easy to crochet each part, but to make its eyes like frog isn't that easy at all. I have positioned them in different locations, but they made the frog look like angry mob! haha! So finally I have placed the safety eyes in horizontal position and they look more friendly and realistic looking that way. Anyway, I am still learning how to make amigurumi looks cute, so this is not a bad try at all. Turn out after stuffing this frog, it look like the "HULK" so I am going to name him "HULK the frog". :P
Pattern of this frog is came from Kristieskids from Etsy.
Labels:
15mm black safety eyes,
15mm cat eyes,
Amigurumi,
animals,
charity,
Crochet,
DIY,
frog
|
0
comments
Monday, June 23, 2008
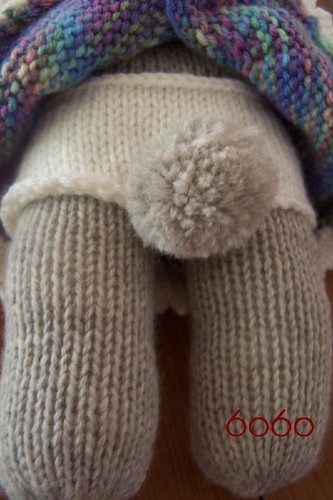
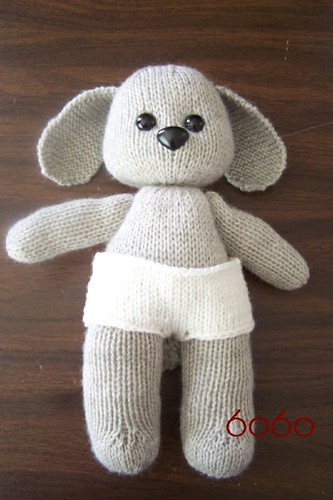
Honey Bunny - 1st knitting project
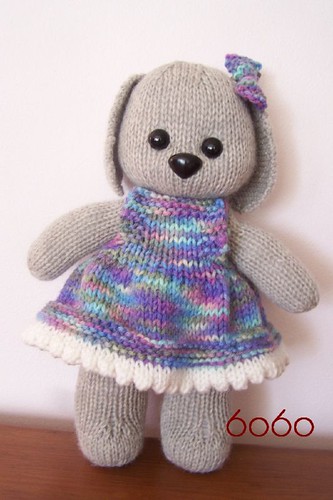
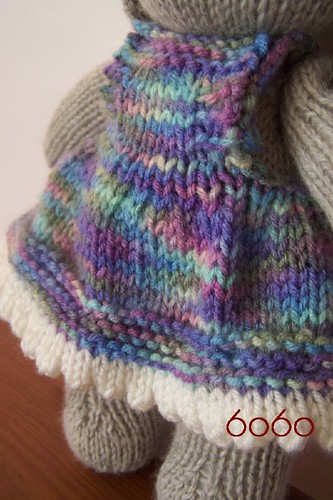
I used a whole month on and off to knit this "honey bunny". I don't care whether it looks like a bunny or doggie, I love it. It's so cute! I love the fact that I learn so many knitting skills on this project, I am so happy but hubby gives me so many advices to improve the face expression, seriously, I have no idea how it knows so much about animals!! :) Anyway, I finished my first knitting project and very glad about it! :)


Sunday, April 27, 2008
Installation of Safety Eyes Instruction
Installation of Safety Eyes Instruction
By Clara (6060.etsy.com & 6060eyes.artfire.com)
3/28/2009 updated
Usage of this document:
 1. Place the safety eyes into the holes and check to see if they are in the right place.

 4. Holding the washer fluted side up, slide it on to the eye post.


 If you use the little black safety eyes, installation will be the same as the 15 mm eyes.
  Remember to MAKE SURE the eye is in the right place. Push the washer fluted side up towards to the back of the eye.
 This is the finished look of a 6mm black eye installed as a cat nose!
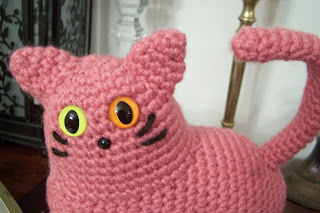 With all the parts together, my cat finally can see and smell.
I hope this document helps you to understand how to put the eyes on your critters and creations. Thank you and enjoy!


By Clara (6060.etsy.com & 6060eyes.artfire.com)
Usage of this document:
Do not distribute this document or sell this document by any means. The intention of this document is to show crafters how to install the safety eyes. Thank you.
Suggestion:
1. Make sure the eyes are located in the right place; once the washers are in, it is very hard to pull them back out again.
2. If you are using material like fabric, vinyl and leather, enlarge the hole a little by poking a needle (yarn needle/ skewer/ large sewing needle/ knitting needles, etc) through the material first.
 1. Place the safety eyes into the holes and check to see if they are in the right place.
2. Once you think they are in the right place, you can start the process of placing washers at the back.

3. This is the back side of the safety eyes.

(Again, MAKE SURE the eye is in the right place. Once you push the washer to the back of the eye, it will be extremely hard to remove).

5. Apply even pressure with both thumbs to slide the washer down the eye post.

This is the finished look of two 15mm cat eyes placed on my crocheted animal.

 Remember to MAKE SURE the eye is in the right place. Push the washer fluted side up towards to the back of the eye.

Clara :)
******************************
If you need more help because you have arthritis, please click the link above.
I have couple more suggestions for you.
******************************
Updated: Plastic eyes/noses washers

Bear Joints:

Other critters I have made:


Wednesday, November 14, 2007
My first white crochet kitty
 This is the first crochet kitty cat I did since I knew the crochet basic. I got the pattern from here. It is a very cute and good size cat. When I finished the last stitches and handed it to Evie. She was extremely happy. She hugged it and kissed it. The cat seemed very happy too. See! She winks to every one!!
Now I am crocheting another black kitty cat and it will be a gift to my mother-in-law. She got many black cats in the past and they all got old and left her. I think a black kitty cat is just what she needs.
This is the first crochet kitty cat I did since I knew the crochet basic. I got the pattern from here. It is a very cute and good size cat. When I finished the last stitches and handed it to Evie. She was extremely happy. She hugged it and kissed it. The cat seemed very happy too. See! She winks to every one!!
Now I am crocheting another black kitty cat and it will be a gift to my mother-in-law. She got many black cats in the past and they all got old and left her. I think a black kitty cat is just what she needs.
Subscribe to:
Posts (Atom)
LinkWithin


.png)


My Fav

Agne's Artfire Store

stitchnfrog's pattern

theitsybitsyspider's pattern - baby owl